What you'll learn:
- Configure project settings for Lumen and ray tracing
- Create a blank environment to build lighting from scratch
- Understand mesh and light mobility settings
Section 1: Project Settings (8 min)
Before creating any scenes, verify your project's rendering settings are configured correctly.
Edit → Project Settings → Engine → Rendering
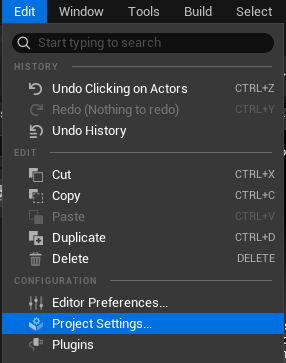 Edit menu - Project Settings
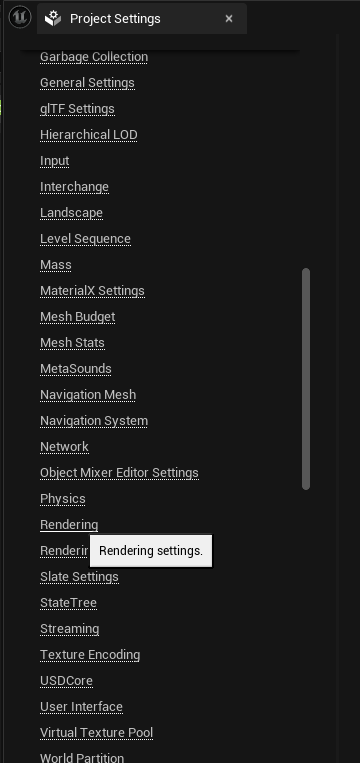 Project Settings navigation
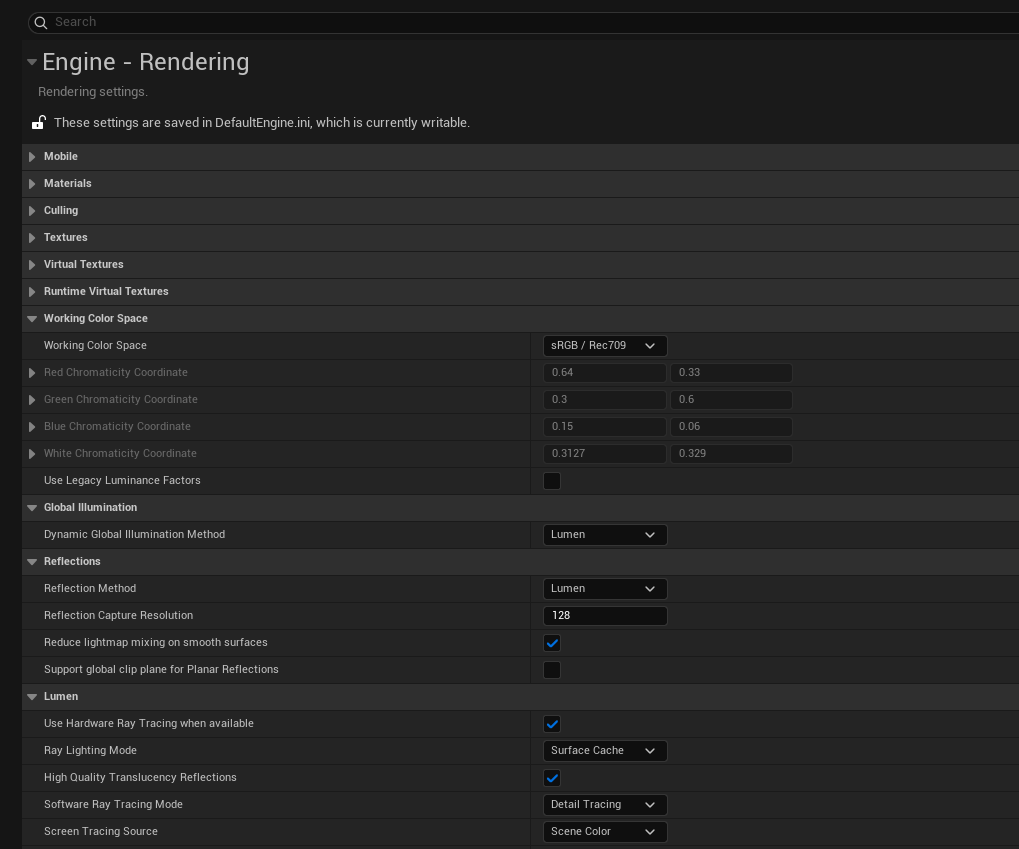 Engine Rendering settings
Working Color Space
| Setting | Value |
|---|---|
| Working Color Space | sRGB / Rec709 |
Global Illumination
| Setting | Value |
|---|---|
| Dynamic Global Illumination Method | None |
Note: We'll cover this in depth in Part 5: Indirect Lighting.
Reflections
| Setting | Value | Note |
|---|---|---|
| Reflection Method | None | We'll enable Lumen later when discussing reflections |
Lumen
| Setting | Value |
|---|---|
| Use Hardware Ray Tracing when available | ✓ On |
| Ray Lighting Mode | Surface Cache |
Info: Surface Cache is faster (caches lighting data on surfaces); Hit Lighting is more accurate but slower (evaluates lighting at each ray hit). Surface Cache is the recommended default for most workflows.
Note: We'll cover Ray Lighting Mode in Part 7: Reflections.
Direct Lighting
| Setting | Value |
|---|---|
| Ray Traced Shadows | Off |
| Shadow Map Method | Virtual Shadow Maps |
Hardware Ray Tracing
| Setting | Value |
|---|---|
| Support Hardware Ray Tracing | ✓ On |
Hardware Ray Tracing Requirements:
- NVIDIA: RTX 2000 series or newer
- AMD: RX 6000 series or newer
- Windows: Windows 10 Build 1809+ with DirectX 12
- Linux: Supported via Vulkan (experimental) — requires Vulkan-capable GPU drivers
- Consoles: PS5, Xbox Series S/X have native support
If your GPU doesn't support hardware ray tracing, Lumen falls back to software ray tracing (slower but still functional). Keep GPU drivers up to date for best performance.
Troubleshooting: Option Missing or Greyed Out?
If the Hardware Ray Tracing option is missing or greyed out, check:
- Not running DirectX 12 — Ensure your project uses D3D12 as the RHI (see Platform Settings below)
- GPU doesn't support DXR — Your graphics card may not support DirectX Raytracing
- Outdated drivers — Update to the latest GPU drivers from NVIDIA/AMD
- Windows version — Requires Windows 10 Build 1809+ with DirectX 12 support
Software Ray Tracing
| Setting | Value |
|---|---|
| Generate Mesh Distance Fields | ✓ On |
Info: Distance Fields are used by Lumen's software ray tracing fallback and for Distance Field Ambient Occlusion. Enable this even if you have RT hardware — it provides fallback support and some additional features.
Default Settings
| Setting | Value |
|---|---|
| Light Units | Lumens |
| Bloom | Off |
| Ambient Occlusion | Off |
| Ambient Occlusion Static Fraction | Off |
| Auto Exposure | Off |
| Motion Blur | Off |
| Lens Flare | Off |
Why disable these? We disable these post-processing effects initially so we can see the pure lighting contribution without any enhancements. This helps you understand what each lighting element does on its own. You can re-enable them later once you understand your lighting setup.
Forward Renderer
| Setting | Value |
|---|---|
| Forward Shading | Off |
Why Off? Unreal uses Deferred Rendering by default, which is required for Lumen GI and most modern lighting features. Forward Shading is an alternative rendering path used for specific cases like MSAA anti-aliasing, VR optimization, or certain transparency/hair rendering techniques. For this course, keep it Off to use the standard deferred pipeline with Lumen.
Hardware Ray Tracing and many Lumen features require DirectX 12 and Shader Model 6. Configure these in Platform Settings:
Edit → Project Settings → Platforms → Windows
 Platforms navigation
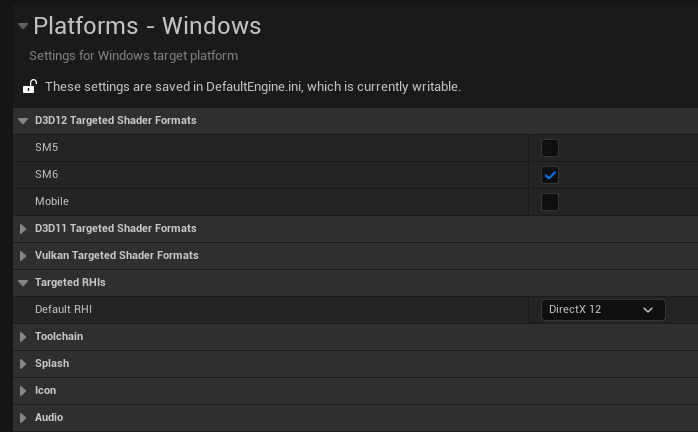 Windows Platform Settings
D3D12 Targeted Shader Formats
| Setting | Value | Why |
|---|---|---|
| SM6 | ✓ On | Required for hardware ray tracing and modern Lumen features |
| SM5 | Off | Legacy shader model — lacks ray tracing intrinsics and wave operations |
SM5 vs SM6: Shader Model 5 (SM5) was designed for DirectX 11 and doesn't support hardware ray tracing. Shader Model 6 (SM6) adds DXR ray tracing intrinsics, wave operations for better GPU parallelism, and other features Lumen relies on. If you're using Lumen with hardware ray tracing, SM6 is required.
Targeted RHIs
| Setting | Value | Why |
|---|---|---|
| Default RHI | DirectX 12 | RHI (Render Hardware Interface) is Unreal's abstraction layer. DirectX 12 provides the low-level GPU access needed for hardware ray tracing and optimal Lumen performance |
Note: After changing RHI settings, restart the editor for changes to take effect.
Section 2: Blank Environment (7 min)
A blank level removes all assumptions. No default lighting, no sky, no post-processing. This lets us:
- See exactly what each component contributes
- Understand why things look "wrong" when elements are missing
- Build up lighting systematically
- File → New Level → Empty Level
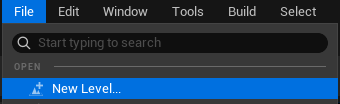 File menu - New Level
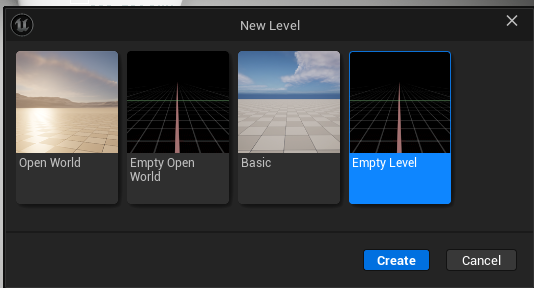 New Level dialog - Empty Level selected
- Result: Complete darkness (no lights exist)
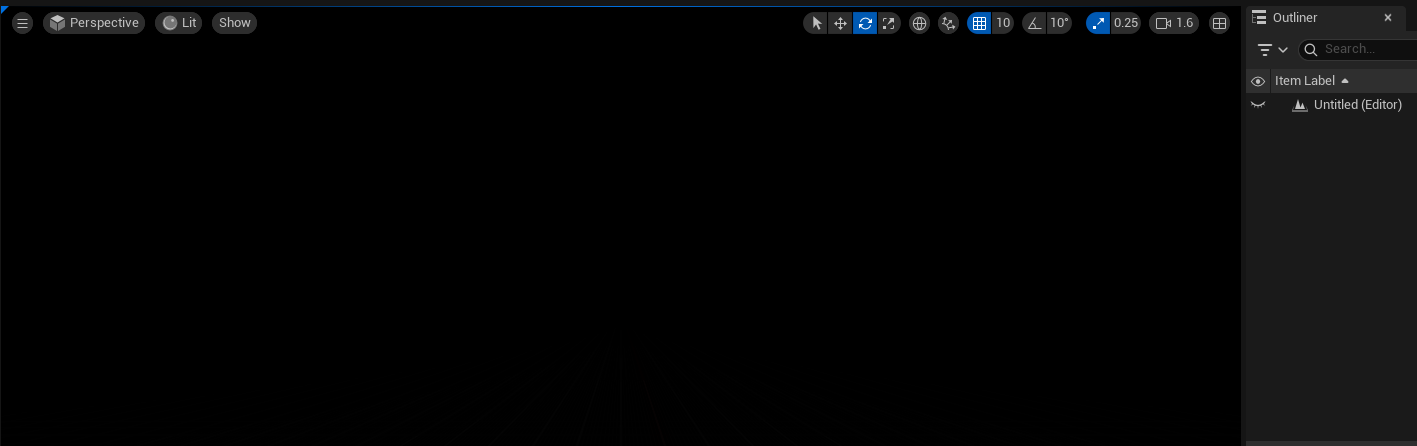 Empty Level - Complete Darkness
To add anything to your scene:
Window → Place Actors (or press Shift+1)
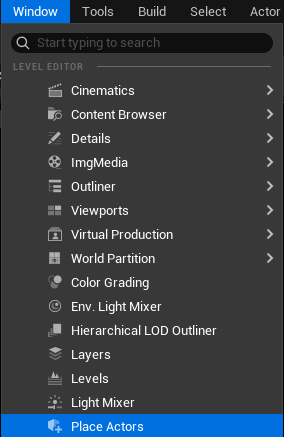 Window menu - Place Actors
 Place Actors panel - Shapes
This opens the Place Actors panel where you can find:
- Basic shapes (cube, sphere, cylinder, etc.)
- Lights (point, spot, rect, directional)
- Volumes (post process, etc.)
- And more
Create a floor:
- Place Actors → Shapes → Cube
- Scale it: X = 10, Y = 10, Z = 0.1 (flat platform)
- Position at Z = 0
Add test objects:
- Place Actors → Shapes → Cube
- Position it on the floor
- Place Actors → Shapes → Cylinder
- Position next to the cube
Now you have a simple scene to light.
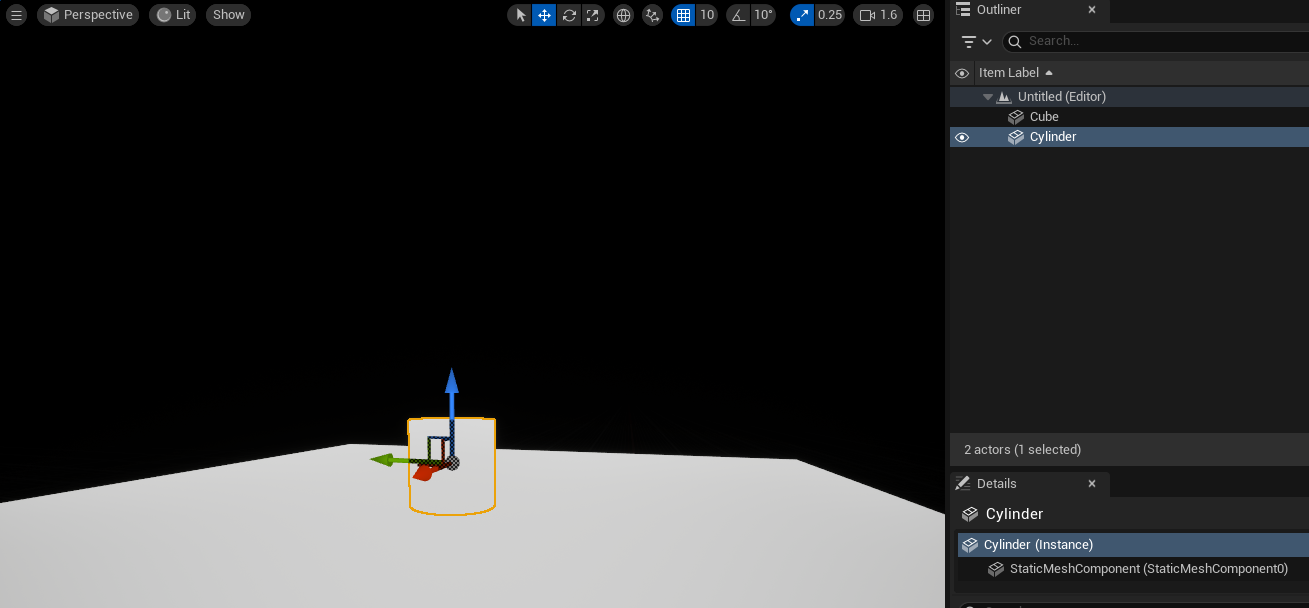 Test Geometry Setup - Cube and Cylinder on floor
Tip: If you need to see your scene, switch the viewport from Lit to Unlit (Viewport > View Mode > Unlit, or press Alt+3). This shows objects without lighting so you can position them. Switch back to Lit mode (Alt+4) once you add lights.
Every mesh in Unreal has a Mobility setting that controls whether it can move and how the engine optimizes it:
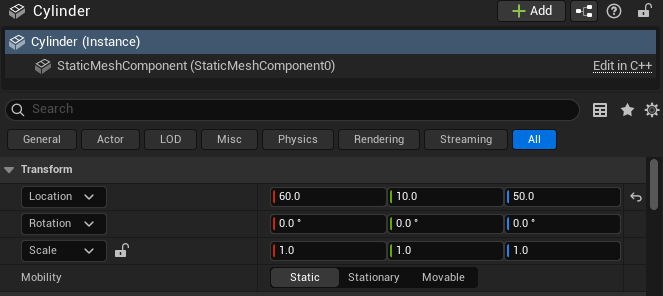 Details panel showing Mobility setting
 Mobility options - Static, Stationary, Movable
| Mobility | Can Move? | Performance Benefit |
|---|---|---|
| Static | No | Lowest transform overhead, shadow depth caching |
| Stationary | No | Shadow map caching for better dynamic shadow performance |
| Moveable | Yes | Required for anything that moves at runtime |
For this course, we're using fully dynamic lighting (Lumen), not baked lightmaps.
Window → World Settings (or click the Settings dropdown in the toolbar)
| Setting | Value | Why |
|---|---|---|
| Force No Precomputed Lighting | ✓ On | Disables lightmap baking — all lighting is real-time |
 Window menu - World Settings
In the World Settings panel, find the Lightmass section → Lightmass Settings → Advanced:
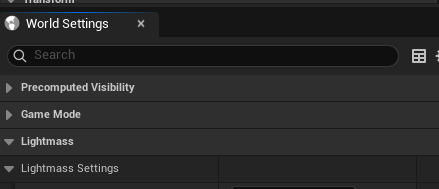 World Settings panel
The setting is located in Advanced Lightmass:
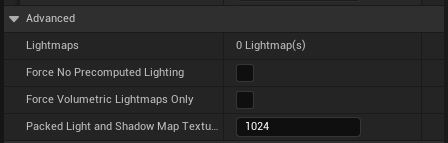 Force No Precomputed Lighting setting
When you enable this setting, you'll see a confirmation dialog asking you to rebuild lighting:
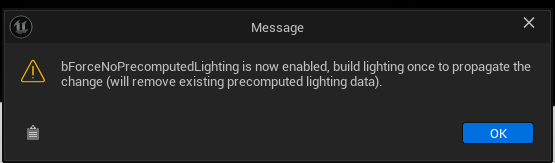 Force No Precomputed Lighting warning
Click OK. The setting is now enabled:
 Setting enabled
Note: Baked lighting (lightmaps) is a separate workflow optimized for static scenes. This course focuses on fully dynamic lighting with Lumen, which is more flexible for real-time changes.
Warning: What you're trading away: Baked lightmaps offer better performance on lower-end hardware and consistent results without temporal noise. By forcing dynamic lighting, you gain flexibility but require more GPU power and accept potential frame-to-frame variation.
With Force No Precomputed Lighting enabled, all meshes receive fully dynamic lighting. However, the Mobility setting still matters for performance:
| Mobility | Use Case | Performance Benefit |
|---|---|---|
| Static | Floors, walls, props that don't move | Lowest transform overhead, shadow depth caching |
| Stationary | Lights/objects that won't move but need dynamic shadows | Shadow map caching, cheaper than Moveable |
| Moveable | Objects that move during gameplay | Required for runtime transforms |
Tip: Lights also have Mobility settings — see Part 2: Direct Lighting.
Without any lights, your scene is completely black. This is intentional — Unreal doesn't fake ambient lighting. If there's no light source, there's no light. This physically correct behavior helps you understand exactly what each light contributes.
After enabling Force No Precomputed Lighting, build the level to apply the change:
Why rebuild and save? Building and saving ensures any existing baked lighting data is cleared from the level. Without this step, old lightmaps could remain associated with the level and cause unexpected lighting behavior.
Build → Build All Levels
 Build menu
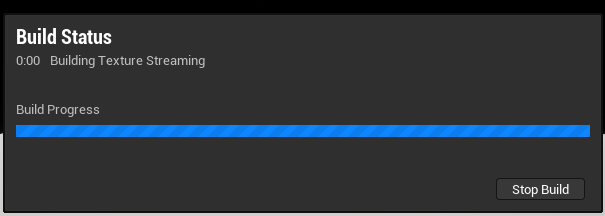 Build progress
Save your level to preserve the work:
File → Save Current Level (Ctrl+Alt+S)
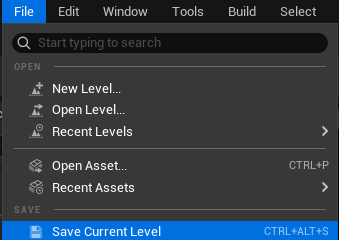 File - Save Current Level
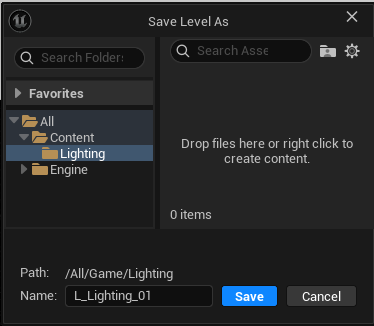 Save Level As dialog
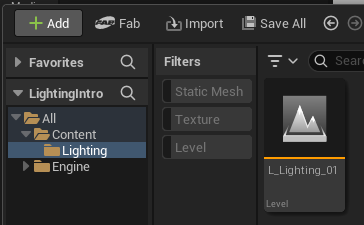 Content Browser with saved level
To save all modified assets:
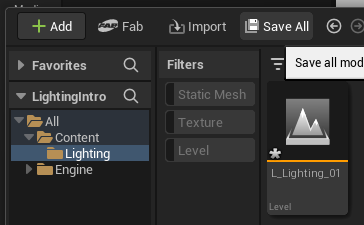 Save All button
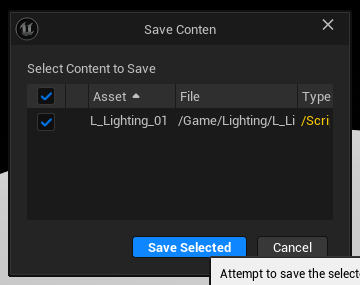 Save Content dialog